Showing posts with label Gor Herd. Show all posts

Thursday, October 4, 2012

The Herd Gathers!

So the Geek Garage Gor Herd Challenge has finally come to an end.  This was a super fun experience.  We all got together at one of our LGS's and snapped a few pics.

First here is a pic of the Gor's and their creators:


Left to Right: John "Freaking" Salmond, Al "Wild Chevy", Randon "Grimwolf", Brett "Happy Panda", Scotty "Scotty Kahn"
Not Pictured: Will "Journeyman", and Mikey "Mephistoles"

Sadly we weren't able to get Mikey's entry photographed, Journeyman's fig was represented in the group photo.

So now, the two group shots... Couldn't get a good photo, lots of blurry dudes.


Now some individual shots:

First up Journeyman's Sir Goat:


Next Scotty's Late comer:


Here's John's beast:


Next up Panda's rusted runt:


Wild Chevy's blue eyed beauty:


and finally Grim's messy Gor:


Right now these guy's are sitting in a display case at our LGS.  Tell your friends to follow!!

Thanks for watching!

-Grim

Monday, October 1, 2012

The little Gor that could....or couldn't?

Yes folks, Tis I, the final slacker of the bunch. Just really couldn't seem to find time to finish this guy or even really get started for that matter.
Even if I am extraordinarily late, it was still cool to see everybody's individual projects coming together and all the different ideas for color choice and basing. 


Sunday, September 23, 2012

Howling at the moon... FINISHED!!!

Finally done. Better late than never I guess. At least I am not the last one. This was a fun project. I went in phases on this guy. At times I tried a few new things. Other times I just wanted to get it done. I wish I could say I was consistent on this one but I was not. My schedule is brutal right now. But I made a commitment. I just wish I could have hit the deadline date. Anyway here it is. Any questions or comments fire away.

Oh... the idea behind this one is that this is a sacred warrior site where tribute is left in one way or another. Sometimes the tribute would be given by another from a fallen comrade. I know, too much thought. He is morning the loss of a fallen warrior... too much thought again?
John...
SEE MORE PHOTOS....
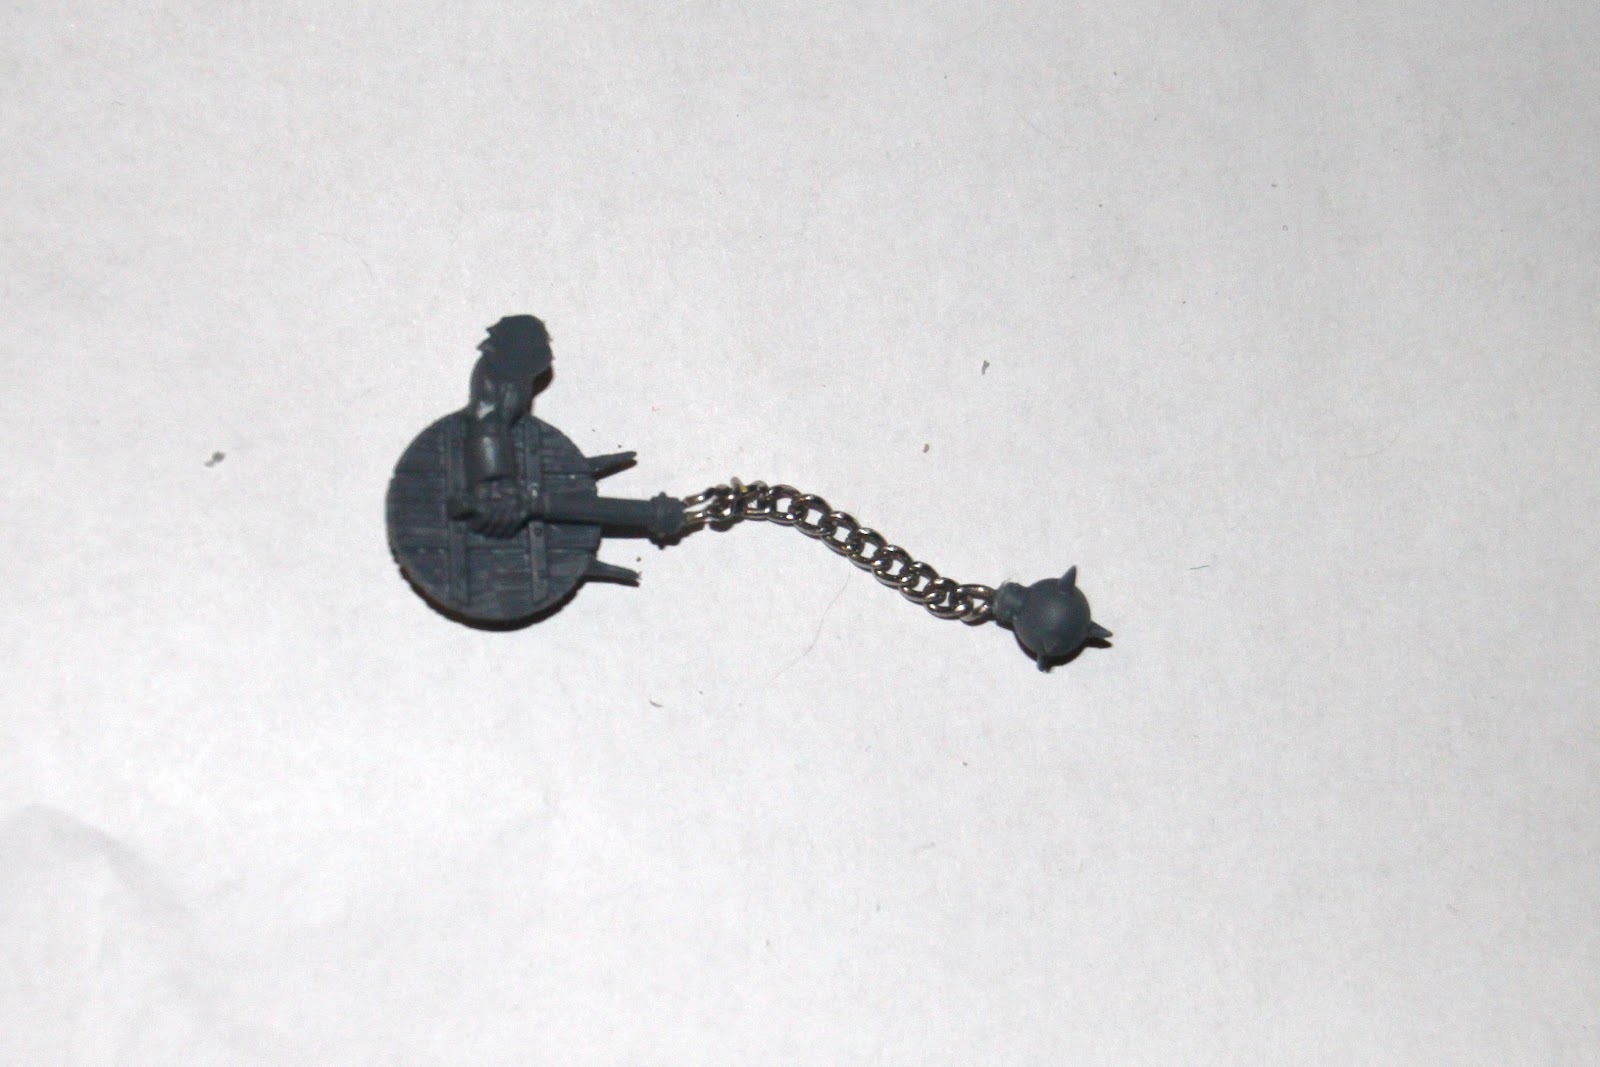
I doubled up the horn. Made two ax blades. Extended the weapon handle. Added the chain. Added the hair at the end of the ax. Added the beard. Put a ring in one of the horns. Added the skull on his waist. The left wrist was cut out a bit to add more arc to the knife to give more affect of the howl. Added the spikes on the back of the ax. Then made the base with slate.
Cheers,
John...


Wednesday, September 5, 2012

What's the Storey Morning Gorey?

So once again a great challenge has been issued out by the garage and the Panda has failed to deliver on time! I think I've bit off more than I can chew with my commission schedule. I feel bad and promise I've got a few ideas to improve my posting rep soon but I won't let the cat out of the bag just yet.


Anyway... On to my member of the Gore Herd!  I was having convulsions upon seeing the great ideas that my fellow GGers have produced. From Journeyman's obvious delight with chance to do new techniques, Grim's stellar gore, Chevy's always solid blends to Meph's initial post filled with his crazy conversion skills I wasn't sure what I would be able to bring to the table.


Well lets see, what do I do well? Then it hits me! I have never made crazy conversions as green stuff generally scares me; I don't have award winning paint jobs; what I do well is get great table top quality paint jobs for playable pieces! I generally field a fully painted force on the table top if possible so this definitely shows who I am.  But how do I make this fit with the Gor? Well, going back to the days when I was entrenched in the GeeDubb fanboi club I remember how disciples of Chaos are susceptible to the mutating effects of their patrons and are never safe from this power. BAM! I decided to paint up my Gor as if he is being changed from the inside out to become a Chaos Spawn! So what does this entail since I'm not going to have mutations on him you ask? Well a good sickly flesh color would be a great focal point that separates him from the brown bovine that comprise the rest of the herd. Add in the fact that he's probably a blood thirsty critter already and having the Chaos gods isn't helping him, so he probably isn't cleaning his opponents blood off his weapons any time soon!  Anyway I hope you all have enjoyed my ramblings!

Happypanda

One Beast Warband

Woot!  My first "blog" post ever!  Thanks to the great folks in charge for inviting me in, and at the same time apologies for taking so long to get my rump in gear.


This was a fun challenge to work on from start to finish.  Taking a box set and breaking it up amongst painters of different styles and backgrounds was a great idea.  Seeing every ones take on a fig from the same box is really neat, and a reminder that there is no one right way to paint or model.  It's the variety of styles and technique that make this so interesting.


Step 1:  Get a fig from the box.  I like to go nuts on a figure every once in a while and do as much as I can to it to stretch my modeling and painting skills.  While looking over the sprues, I noticed no one had taken the standard yet, and I suddenly had green stuff visions of the future.  I wasn't sure about the alternate hand yet, so I grabbed a shield arm and a weapon arm to try some different looks before settling.


Step 2:  Test poses and design.  I wanted to change the pose so I started looking at the torso to see where I could make alterations.  One of the legs had a semi straight line that I could cut along, so off comes a leg and a little greenstuf later its now raised up so he can be stepping up the rocky outcrop base I've got in the back of my mind.  Now for the arms.  I started looking at the shield arm, and it was just a cool little piece, so I decided it needed to stay.  Then I was looking at the other club/morningstar arm and hand the thought, what if I combine these?  I did a quick test and it looked like it would work, though it would look a little busy.  So I thought, why not make "busy" the theme of the fig?  This is the gor who wants to be everything.  A warband unto himself.  Maybe if I pull this off he'll even look cool doing it.


Step 3:  Make it happen.  Idea now solidified, I begin assembling the figure.  I decide I want to use the standard arm, so I dig through a bitz box and find a dark elf spear that looks like it could be the blade of a poleaxe.  Some greenstuff around the end of the pole and another spearhead later, a poleaxe is born.  So now hes got his poleaxe, shield, and morningstar, how to attach the standard?  Going with the one man warband theme, I decided to have it tied around his waist and shoulders.  I attached a plastic tube for the pole of the standard and then wrapped some string around it to make it look like it was secured by rope.  I tried greenstuff at first, but sculpting that much rope was going to take forever, so that idea went out the window.

I am always changing my idea as I build a fig, which is not the best way to go about things sometimes.  At this point I decided the standard looked too plain and flat given the rest of the movement going on in the figure.  So I clip off the skulls hanging from the side of the banner.  I roll out some greenstuff and flatten it(with a little vasaline on the board to make it easy to pick it back up) and cut it into roughly the same kind of shape that I snipped off.  I attached the skull to the bottom and then once it was cured attached it to the standard.  Repeat the process for the other side and now the banner has some movement, but still looks a little plain, and my joins of greenstuff to banner are a little visible.  I decide to add more fur to the top of the standard, and then add some more skulls hanging from the top.  The gor already had a skull hanging on his leg and the standard had one too, so a few more can't go amiss right?  In the grim darkness of the future there are only skulls ... oh wait, wrong GW game.  At some point during this process I broke the chain off the weapon and cursed u pa mighty storm.  It was not easy to re-attach and it took a few attempts to get it back on and looking right.  Using superglue to fix it in place really kept the in motion aspect I was going for with the whole thing though.

Greenstuff tips:  Vaseline is your friend.  You can lick or dip your utensils in water over and over again, but that just gets annoying to me.  One dip in Vaseline every 5 or 10 minutes is so much easier.  just don't lick the tools after they've been in Vaseline.  It's also great for rubbing against the back of a piece of plastic when you lay something flat and want to cut a shape or sculpt something, but want to lift it up afterwards.

Use stuff to shape the greenstuff.  I notice a lot of greenstuff work is flat and in one plane.  I like to get bends and curves out of it by draping it over things while it cures to give it more natural irregular shapes.  In this case, the first banner part was wrapped around a pen while it cured, and the second was arranged with a pipe cleaner so I could see it in place and let it cure in just the right spot.

Step 4:  The base,  Since the figure was so involved I kept the base pretty simple, a rocky outcrop made of corkboard, just big enough to give him reason to be stepping up.  I skipped adding sand or anything else, I jsut wanted the rock texture and once painted I would only add some static grass/flock mix and some odds and ends plant misc. stuff to try and make it look natural.


Step 5:  Painting!  This actually took the longest since I have a very busy work schedule this time of year.  I mostly snuck in 15 min here and there before or after work, trying to just add one color or layer at a time.  The nice thing about this method of painting in little bits over a longer timeframe is that it makes it easier to be patient.  There's no rush to slap as much paint as you can on in one sitting when you know you only hive time for one application of color at this sitting.  I layered a darker flash color in, and then brought up some higlights, then blocked out an even darker brown for the fur.  I tried to highlight the fur with different shades, but in retrospect this is one area that I think i dropped the ball a bit, the two areas of flesh and fur don't separate enough I don't think.  They ended up too similar.  I used wet blending on the banner and some of the muscles, trying to get some nice color transitions.  I always struggle with contrast, I never go quite dark enough or light enough with my shading and highlighting, even though while actually painting I always think that it's too much already.  I wet blended all the horns as well, trying for a natural dark to light fade on the horns.  I also tried some non-metal metal on the weapons and metal areas, and then brushed a very watered down silver over them so it ends up being a shaded silver metal.  Painting the string was a real pain, it was difficult to get color to stay where I wanted it, and even after the base coat it still absorbed paint for a little while, making it take several coats of base and highlight/shadow to get it to look sort of right.

Thanks for taking a gander at my beasty, Feedback and comments are always appreciated!

Monday, September 3, 2012

Howling at the moon... Part 3

Well this weekend I planned on doing more painting than I have been able to squeeze in. That is life sometimes.

I really didn't have a plan for the paint job other than I wanted a light color for the skin just in case I wanted to throw some tats on there. I also wanted a different color for the hair. I thought of when my mother painted some pine trees and there was purple in the bark. So why not? The hair came together by treating it like the rest of the figure. I would just do the washes over top of the hair too. Then when it came time I mixed some purple in the dark brown to create a wash. Then I just went from there. Added variations of purple to the mix and it turned out like this. Then I wanted something to make the skin pop and thought of red. So there you go. There is red on this guy and it turned out not bad. I am going to put one more highlight on the red after taking these pictures. Just doesn't pop enough. It looks good in person but the camera is brutal as always. The hoofs will be close to black along with the horns. I am getting to the detail and sometimes with figs that slows me down. Well if you have any comments fire away.


My daughter swiped one of my light sources for pictures. I was too lazy to go and get it. This isn't the final shot anyway so eehh.
John....

For the Glory of the Herd! Final

So, I was able to finish this guy up last night.  Oh, how I love holidays :)

Not sure what to think of the finished product.  I tried a few experiments with gore and the like.  Not really sure how I like the result.  However, I wanted to be true to the story of this guy.

As was mentioned in the initial For the Glory of the Herd! post.  This guy has just defeated a challenger in the ranks to retain his title as Champion of the Herd.  I wanted to make it look like he had been in a battle.  He lost his eye in the battle, so I figured there had to be a lot of blood.  Plus he slaughtered his challenger... so that meant even more blood.  Figuring there really wasn't any place for this dude to shower, I preceded to splash blood (red and brown paints mixed up with gloss varnish) all over the dude and his weapons. 

I think my favorite part is the base.  I used a baking soda, white glue, water mixture to produce the snow effect. After applying the snow mixture I dusted the still wet mixture with straight baking soda.  (A trick from my buddies basing tutorial... you can find that tutorial a few posts below this one ) After applying the dusting I took some of my blood mixture and watered it down quite a bit, then I barely tapped the snow with the brush.  Coolest little effect happened.  I was quite impressed. 

Anyhow, here is what it looks like. 


I had a blast participating in this Geek Garage Challenge.  Hopefully this is a first of many. 

And to my fellow bloggers... Time is ticking... midnight tonight deadline.  Remember your promise and the consequences of failure... GRIM SMAAAAAAAASH!!!

Haha!

Stay tuned really... we might be giving these figures away... just need to hit a milestone follower number... At 50 followers we give one of these models away to a random follower... at 75 we give another away, at 100 another... and so on every 25 until they are gone.

So stay tuned and be active!!

Thanks for watching!

-Grim


Sunday, September 2, 2012

Glory to the Herd!! Part 4

Alright, I had a bit of time last night to sling a bit more paint.  Sadly I didn't slow down enough to take note of exactly what I was doing.  After reading my last paint write up... it may not matter any how... Definitely need to work on preparing a more understandable write up of what I do.

Anyway, enough with the blabbin'  Here is my progress thus far, still need to do quite a bit of work on the swords and armor, then some finishing touches to the face and base.

Here you are:


Stay tuned over the next day, we should be seeing a lot of activity on the Gor Herd.  (That is assuming my fellow bloggers don't fail :P ;) )

Thanks for watching!

-Grim