Showing posts with label Journeyman. Show all posts

Thursday, June 6, 2013

Lanyssa and Blending

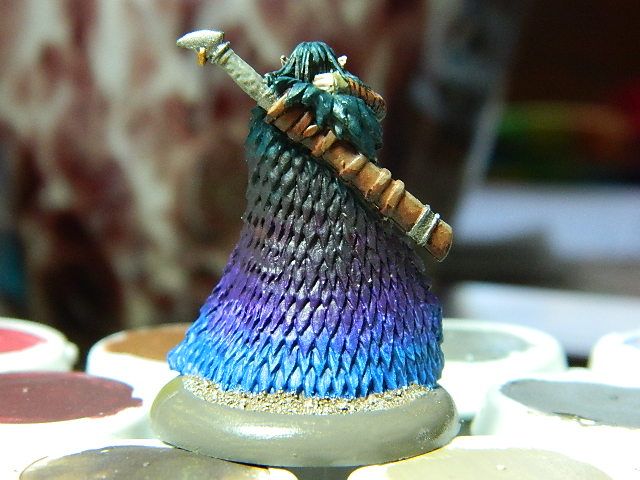
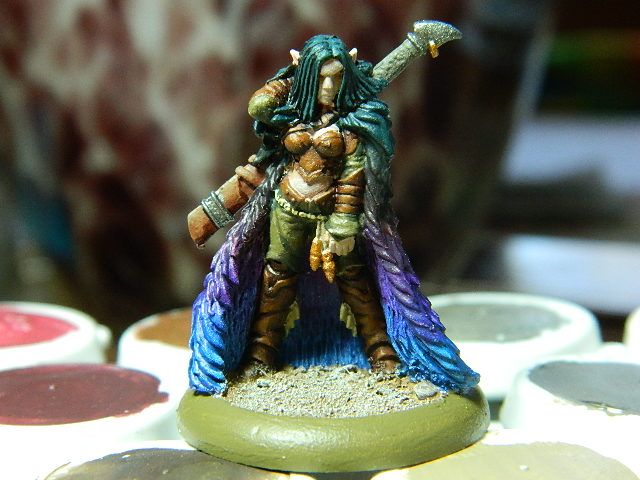
About two weeks ago I picked up a Minions model, Lanyssa, Ryssall. I heard that she had some good synergy with some of my Warmachine lists, giving some much needed movement to some of my troops. I knew that I would be getting her eventually, and I knew I wanted to do something unique and new with her cloak. I had seen many different ways of doing it, ranging from single color to freehand design. But I wanted to try my hand at wet blending, and I think the result came out great. Here's a photo of just the cape:


The colors went something like this, originally: Blue, purple, brown, orange. I was doing all right blending the first three colors, but I was having some major trouble blending the orange and brown. I think this was because I wasn't supposed to be blending orange and brown together. I found a picture of a blue to orange gradient, and it seemed like there was brown. So, to reduce stress, I decided to blend the brown into P3 Coal Black. I was much happier with the results, and it's whats shown. Here's some photos of the finished model:


Some other notes:
  1. I should get a light box pretty soon. 
  2. Another color I love doing is the leather, usually the one outlined in the Forces: Cygnar book. Once all the steps are done, it creates a nice contrast between all the bits of leather. I believe this is due in part to the final shading being mostly P3 Brown Ink, which is pretty dark. I used this process on the scabbard. All the other leather bits are outlined in the Forces: Trollbloods book. (There's a misprint. When it says Bootstrap Brown, it means Bootstrap Leather. Took me forever to figure that out). 
Now, if you'll excuse me, I've got some new, tasty models from Lock n Load to assemble and paint.

Till next time, folks!

Journeyman


Monday, May 13, 2013

Wings of His Enemies

Speaking of slackers, guess who finally showed up! Me, Journeyman! Sorry guys for the massive gap between posts, but I've got a special treat for you all.

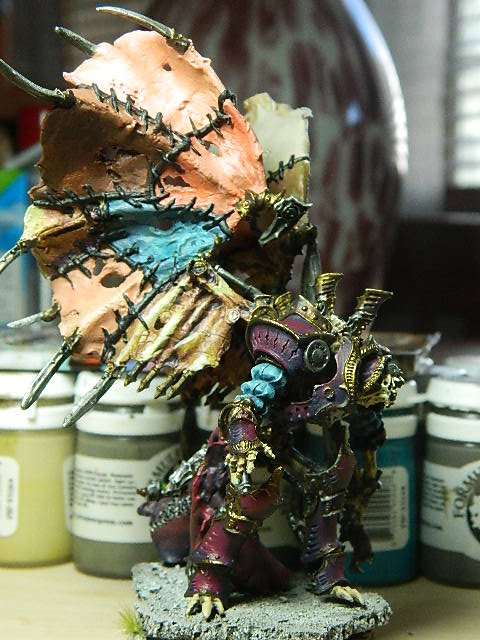
A few weeks ago, a local player had a great idea for Lich Lord Terminus. Mod his wings so they looked like they were made from the skins of his enemies. I thought, "Man, that is a stellar and fantastic idea. Not only will I get a chance to practice various skin tones, he'll have a very unique Terminus on the table. A few weeks passed, and here it is.


Most of the skin tones I used came from all the various "Forces of" books from Warmachine and Hordes. Skin has always been kind of tricky for me, but I think that can be said of many painters starting out. Recently I've gotten better (read: gotten more paints to work with), and it's not so intimidating anymore. 

The base was a new thing for me too. It's the standard cork slab being raised by other cork pieces, but I sprinkled some sand on top before I primed the base. This allowed me to actually paint the sand and rocks, and what you see is the result of some basecoating and drybrushing. I have to say, I liked the result. A lot. In my opinion this might be the best base I've done yet, although there are a few contenders. 

Overall, this was a great experience, and I'm looking forward to the next big challenge someone will throw my way. Odds are, it just might be myself giving me that challenge. 

Until next time folks,
Journeyman

Thursday, April 4, 2013

IMC, a long day

The InterMountain Cup event was spectacular and a very long day. Two of our painters participated in the tournament, one making the trip from Maryland. And at one point we had all of our painters of the prizes under one roof for about 5 minutes. During the course of the day I took photos and videos to capture all of the fun and after long hours of editing the video is complete.


Winner of the painting competition picking out his prize.
Final round top table player.
Group photo of all the competitors, host, and volunteers.
And here are the Geek Garage painted prizes for giveaway.


Wednesday, March 6, 2013

IMC WIP: Wait, it's done!

If there's one thing that sickness is good for, it's getting a lot of painting and miniature stuff done. I've always enjoyed painting up this valiant piper. Hopefully he'll find a good home.


 Until next time,
Journeyman


Thursday, October 4, 2012

The Herd Gathers!

So the Geek Garage Gor Herd Challenge has finally come to an end.  This was a super fun experience.  We all got together at one of our LGS's and snapped a few pics.

First here is a pic of the Gor's and their creators:


Left to Right: John "Freaking" Salmond, Al "Wild Chevy", Randon "Grimwolf", Brett "Happy Panda", Scotty "Scotty Kahn"
Not Pictured: Will "Journeyman", and Mikey "Mephistoles"

Sadly we weren't able to get Mikey's entry photographed, Journeyman's fig was represented in the group photo.

So now, the two group shots... Couldn't get a good photo, lots of blurry dudes.


Now some individual shots:

First up Journeyman's Sir Goat:


Next Scotty's Late comer:


Here's John's beast:


Next up Panda's rusted runt:


Wild Chevy's blue eyed beauty:


and finally Grim's messy Gor:


Right now these guy's are sitting in a display case at our LGS.  Tell your friends to follow!!

Thanks for watching!

-Grim

Wednesday, August 15, 2012

Of Beast and Man Pt 5 (Finale)

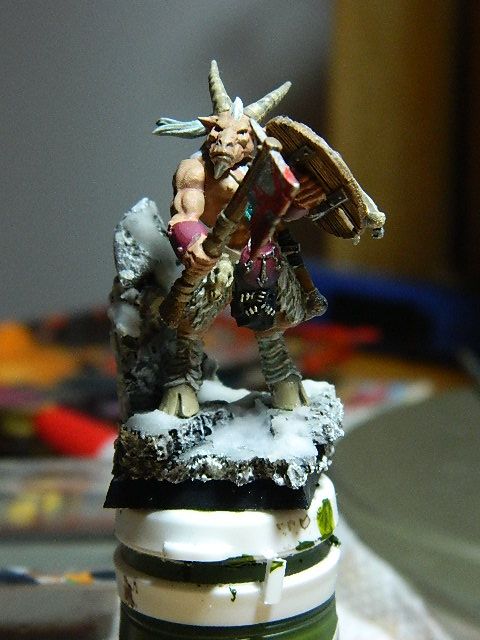
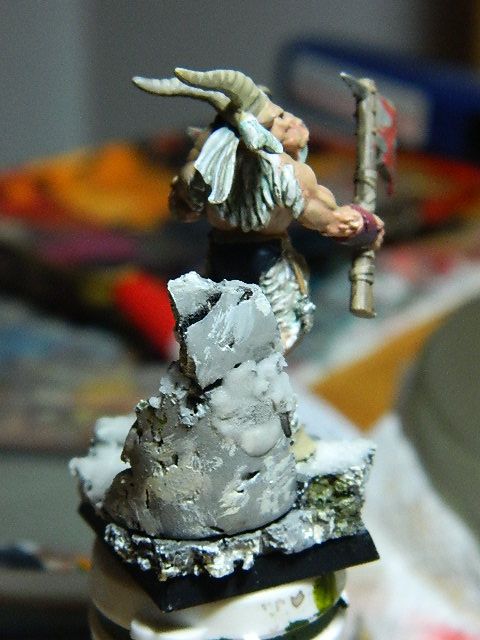
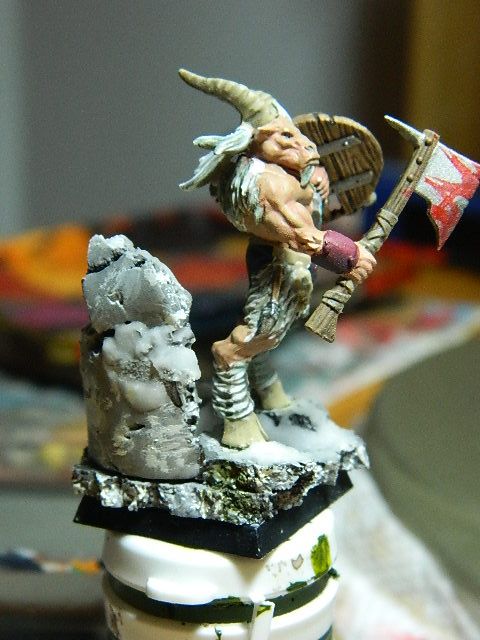
Early spring. The Gor have just come out of a skirmish with raiders. Standing near a rock formation stands one beastman, one few survivors. He looks out upon the devastation of his caravan, bloody axe in hand, and proclaims, "I am Sir Goat."

Ladies and Gent's,  I present to you, Sir Goat:

Goodness, what a trip this whole project has been. To be honest, at the beginning I wasn't quite looking forward to it. I've never handled a GW model before, and I didn't get a good feeling out of the way the plastic felt. I'm thankful though, that it's plastic. It made handling it far easier than some of the Warmachine models that I've painted before. I'll save my final testimonial for the end, but now, let's go through the last steps of Sir Goat. 

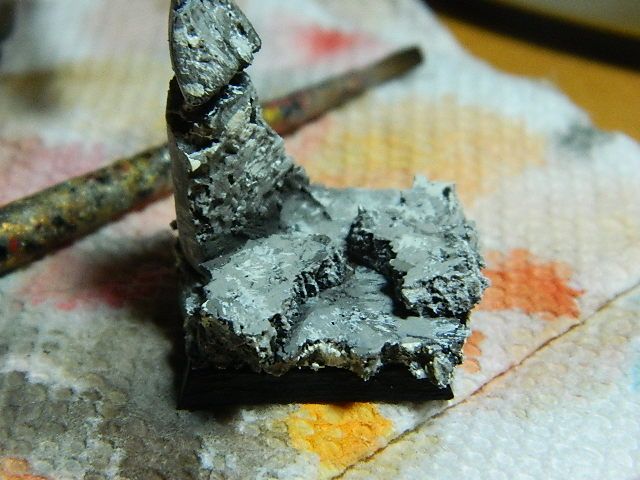
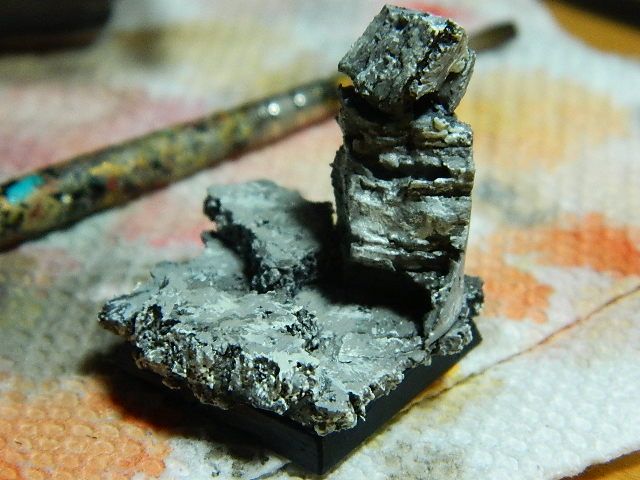
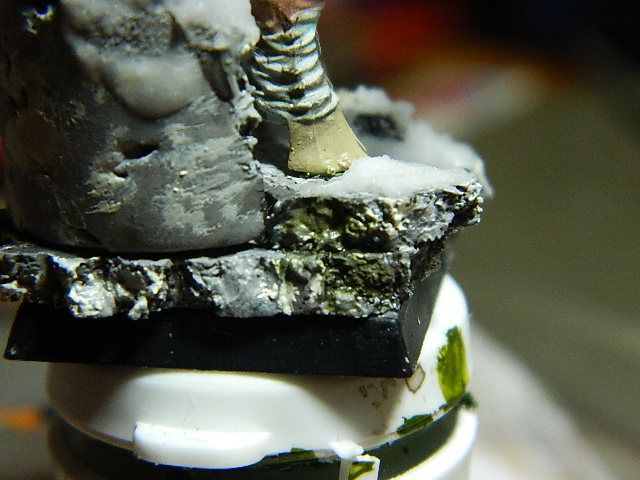
Here's the base before I put anything on it. It started out just white primer, and here's the progression:
  1. Ironhull Grey
  2. Umbral Umber
  3. Bastion Grey
  4. Bastion Grey + Cryx Bane Highlight
  5. Bastion Grey + Menoth White Highlight
  6. Menoth White Highlight + Bastion Grey
  7. Menoth White Highlight
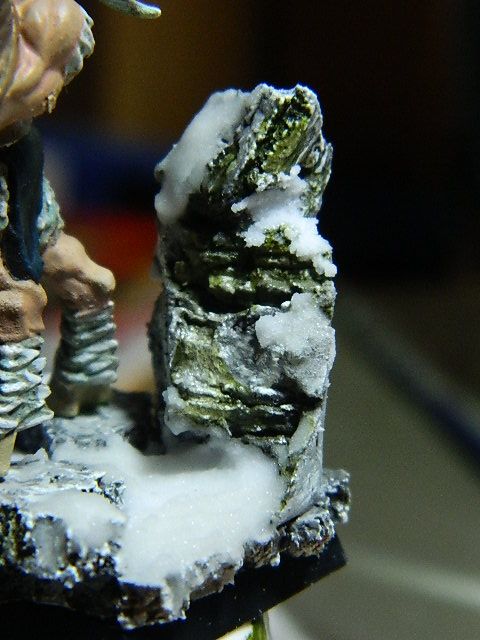
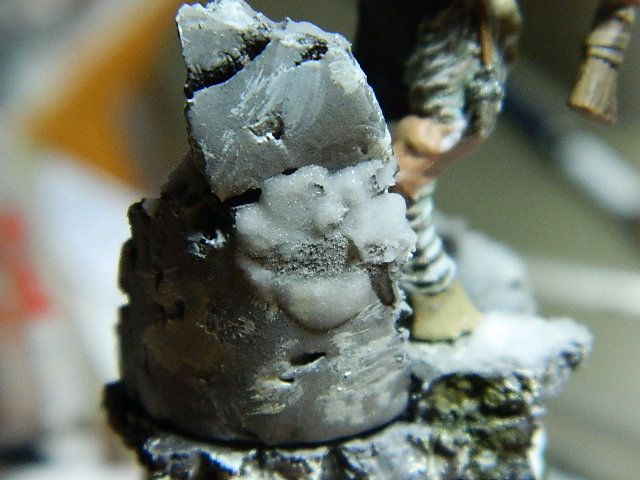
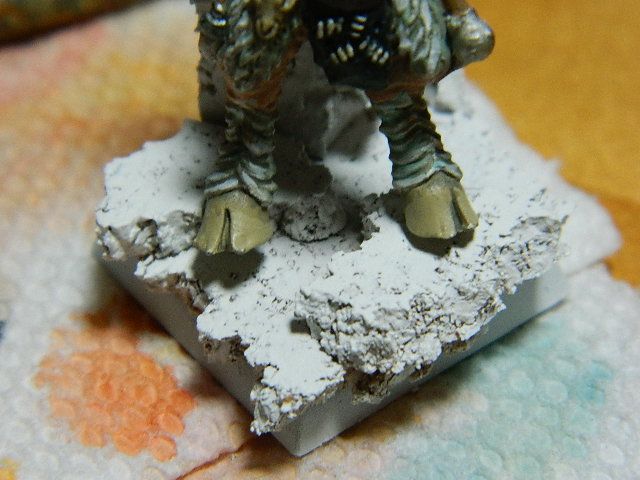
I've followed a similar progression in the past, and used a drybrush instead of a regular brush. In the picture below, I tried something. In the Brush Thralls Hordes Basing Guide, they show a way to paint mossy stone without actually using moss. It was pretty simple, and comprised of two steps:
  1. P3 Armor Wash
  2. Watered down Ordic Olive. 
The result is simply great. It looks as if water's been flowing down that rock for a long time. It's the first time I've done it, and I think it just looks great. I'm probably going to be trying it again in the future. 
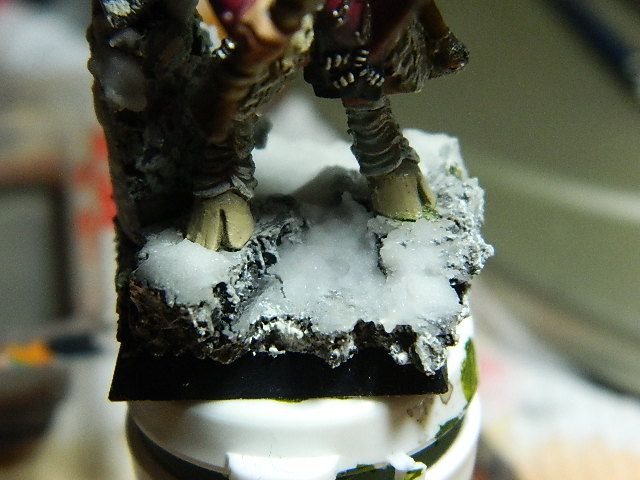
Now the snow. No, it's not pre-bought snow watered down. I actually make my snow with a nifty little recipe from that same basing guide. It's like this: 1 part water, 1 part white glue, 2 parts baking soda. If you do it right, it has a nice consistency that you can water down if you want to make it look like it's melting, which is what I did here. I've used this snow on a few other models, and as soon as it hardens, it maintains its look, and stays on pretty well with after a bit of sealant. Let me show you the rest of Sir Goat, and then I'll have some closing notes.


I'd like to thank the people of the Geek Garage for inviting me on to this great blog. You guys have been great at helping me (and everyone else that reads the blog) to become a better painter. If you had told me a year, or even a year and a half ago I'd be painting like this, I wouldn't have believed it. What they say is true: The only way to get better at something is to keep doing it and to continue learning how to do it. We never stop learning, and I guess that's a quality that's needed for someone who wants to do the things we do, and even just in life. Sorry for getting a bit philosophical and deep. Things have been going really good for me lately. So, again, thank you Geek Garage, and thank you readers! I'll continue to provide such reports in the future. I will be sad to see Sir Goat go. Here's hoping he finds a good home.

Until next time folks,

Of Beast and Man Pt 4

Let's play a game. If you can guess one of the colors that I used in this update, then you win the satisfaction of getting the answer right! I'll give you a hint: I put the color on a pretty high pedestal a few posts back.

On to Sir Goat!

The next step that I decided to do was his horns and hoofs. Not really knowing how to make the color of actual goat horns, I decided to go with a mix that I'm more familiar with and that I enjoy using. Shown here is PG's Bone Mix, outlined in the Forces: Cryx book. I didn't follow every step (skipping a shade), but I think it looks just fine.

  • Colors Used:
  • Base: Jack Bone
  • Shade: Wash of Cryx Bane Highlight
  • Highlight: Jack Bone + Menoth White Highlight


Reveal time! Did you guess right? The answer is Sanguine! Good on ya if you guessed right. Here's how I generally do my Sanguine:

  1. Sanguine Base
  2. Sanguine Base + Exile Blue
  3. Sanguine Highlight
  4. Sanguine Highlight + Menoth White Highlight
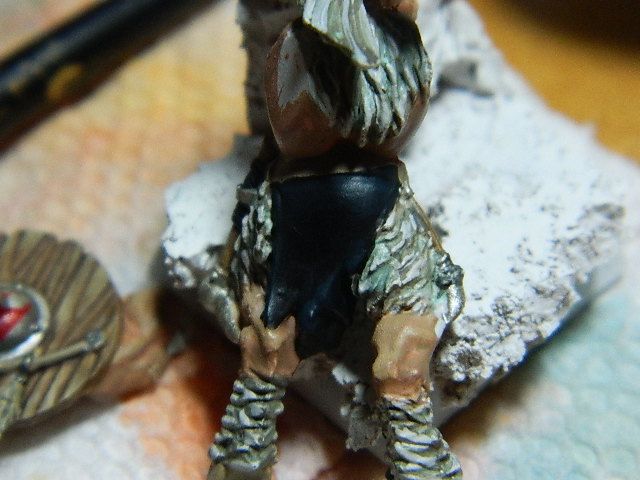
Also shown here is the front of his leotard-like thing (not sure what the name if it is). Here's the back of it:
It's all very subtle, and composed entirely of highlights. Here's how I did it:
  1. Thamar Black Base
  2. Thamar Black + Coal Black
  3. Coal Black
  4. Coal Black + Menoth White Highlight
  5. Same as 4, but a little more MWH
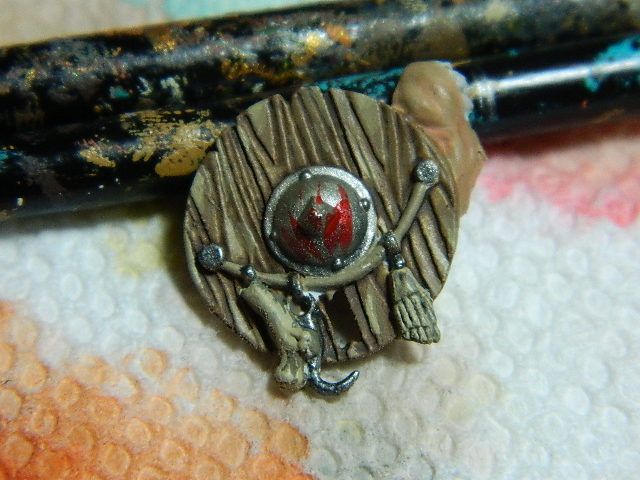
I've done this before, as can be seen on my Siege Animantarix post. I love how subtle it comes out, because that's generally how black is on actual clothes. In both of those pictures, you can see his shield. That was a fun thing to paint. I actually did my own mix from shade to highlight, and I quite like it. It went like this:
  1. Base: Gun Corps Brown
  2. Shade: Devlan Mud Wash (which sadly isn't made anymore. GW!)
  3. Highlight: Gun Corps Brown + Jack Bone
  4. Highlight: Jack Bone
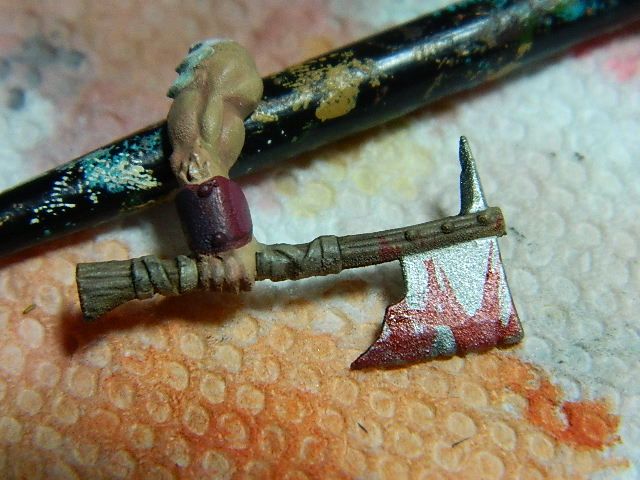
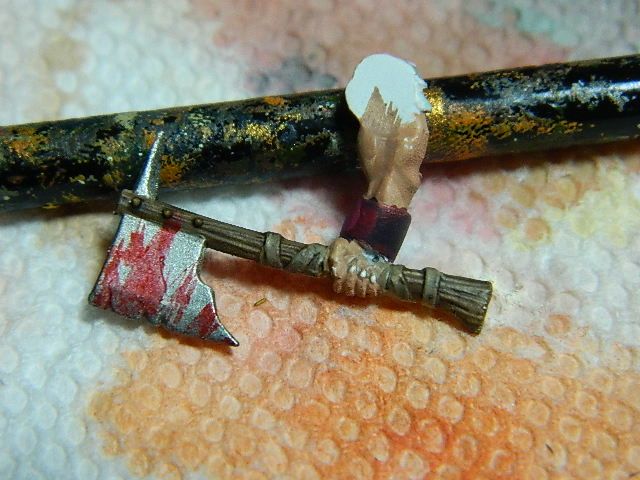
Also shown is his axe, which follows the same pattern. I tried to simulate blood splatter, as if he's just coming out of a battle and hasn't had time to clean his axe. I did this by watering down some Red Ink and flicking it across the axe. Same with the shield. I think it looks decent. Also, fingernails! Done with MWH.


As I was writing this post, I realized that I'm really close to finishing Sir Goat. all I have to do is his rune necklace, his eyes, and a little bit on his snout and mouth (maybe, still debating that). Then I can get to work on his base! I always find it funny in everything that you do, when you start you think it's going to take a long time, and then you start working on it bit by bit, and before you know it, you're nearly done! The base is going to be fun, I've got a couple ideas for it, if I can find a decent drybrush out of my collection. Until next time folks.

Saturday, August 11, 2012

Of Beast and Man Pt 2

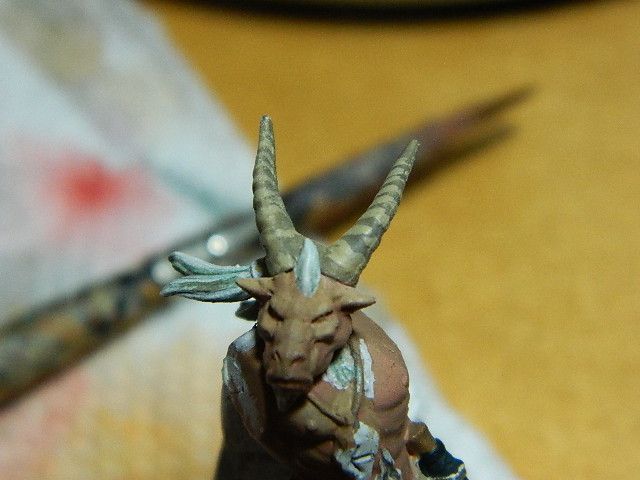
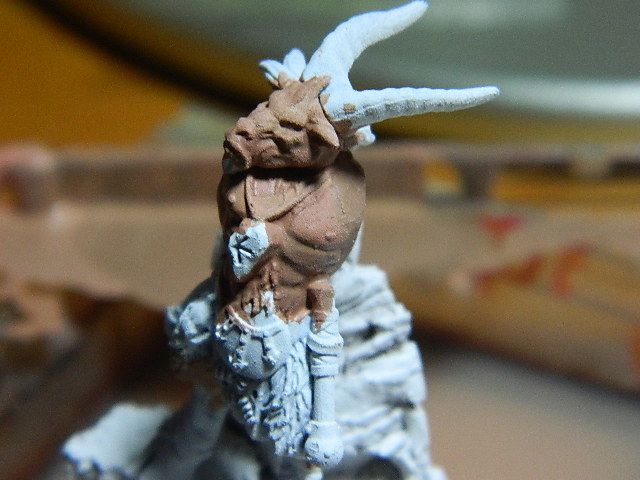
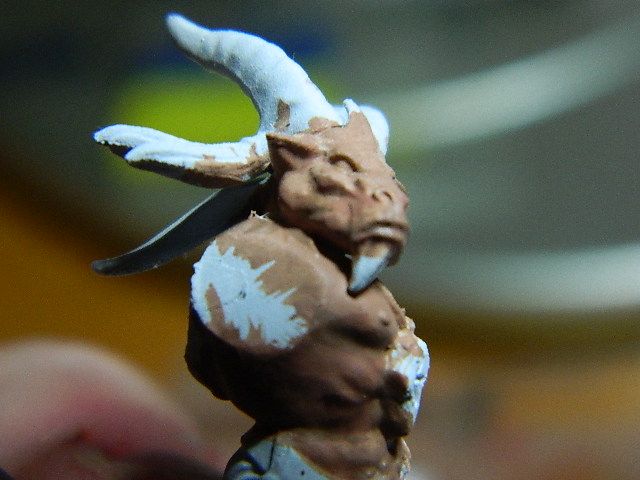
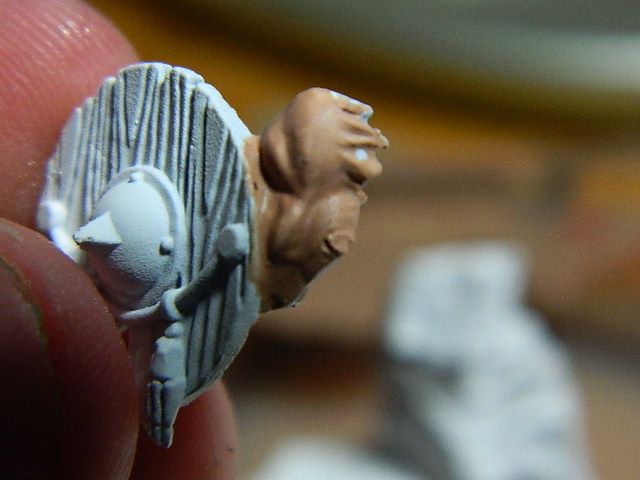
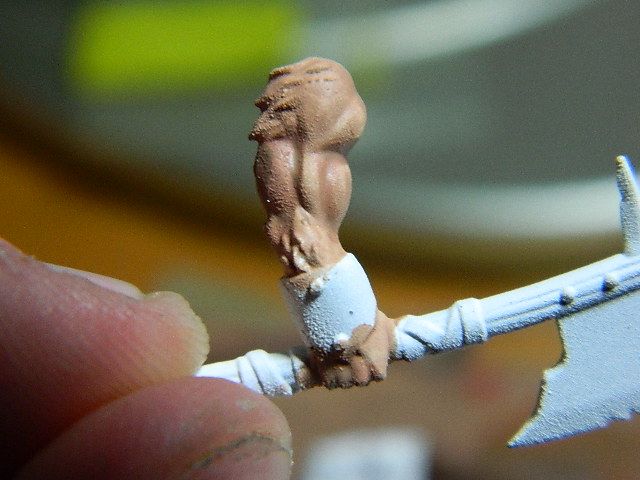
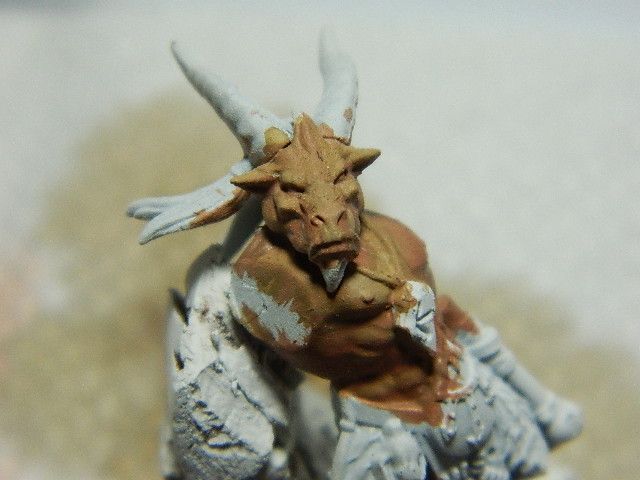
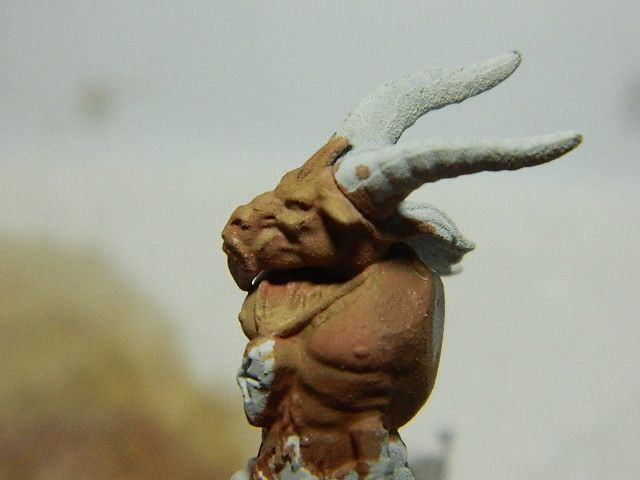
The first part of my beastman (who henceforth shall be known as Sir Goat), was the flesh, which I would imagine would be the first step for a lot of models. For me, I've found that it's easiest to start with the flesh because often times it's the most difficult to reach, and could easily ruin some good work on clothing and whatnot. The first set of pictures here is the basecoat and the first layers of shading.
  • Colors used: 
  • Base: Midlund Flesh + Gun Corp Brown 
  • First Shade: Base + Skorne red 
  • Final Shade: Previous Mix + Thornwood Green + Battledress Green


Here's Sir Goat with the flesh all highlighted and pimped out. With my newly learned knowledge of blending thanks to the Animantarix, I came to a result that I'm satisfied with. I'm not sure if the pictures illustrate the end result very well, but viewed in person you can see it much better, as what tends to happen. Note: If this mix seems familiar in any way, I'm actually using PG's Tharn Flesh guide that's illustrated better in the Forces of Hordes: Circle of Orboros book. Seriously, those painting guides are fancy and helpful and great.

  • Colors Used:
  • First Highlight: Gun Crop Brown + GW Elf Flesh
  • Final Highlight: Same as above, but a 2:1 ratio of Elf Flesh to GC Brown 
So there we go, the first touches of paint for Sir Goat. At the time of this post, I've actually gotten more done on Sir Goat, but I'm going to separate this into several parts, basically every step of the process, following a format similar to this. Till next time folks.