Showing posts with label Terrain. Show all posts

Monday, February 4, 2013

Row House update...

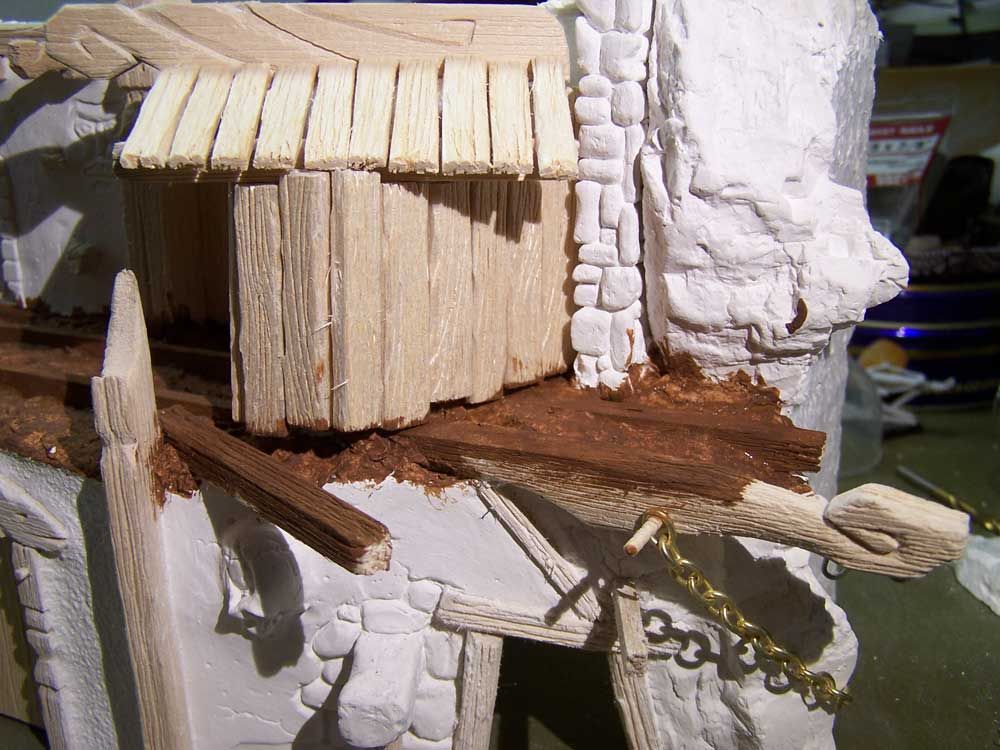
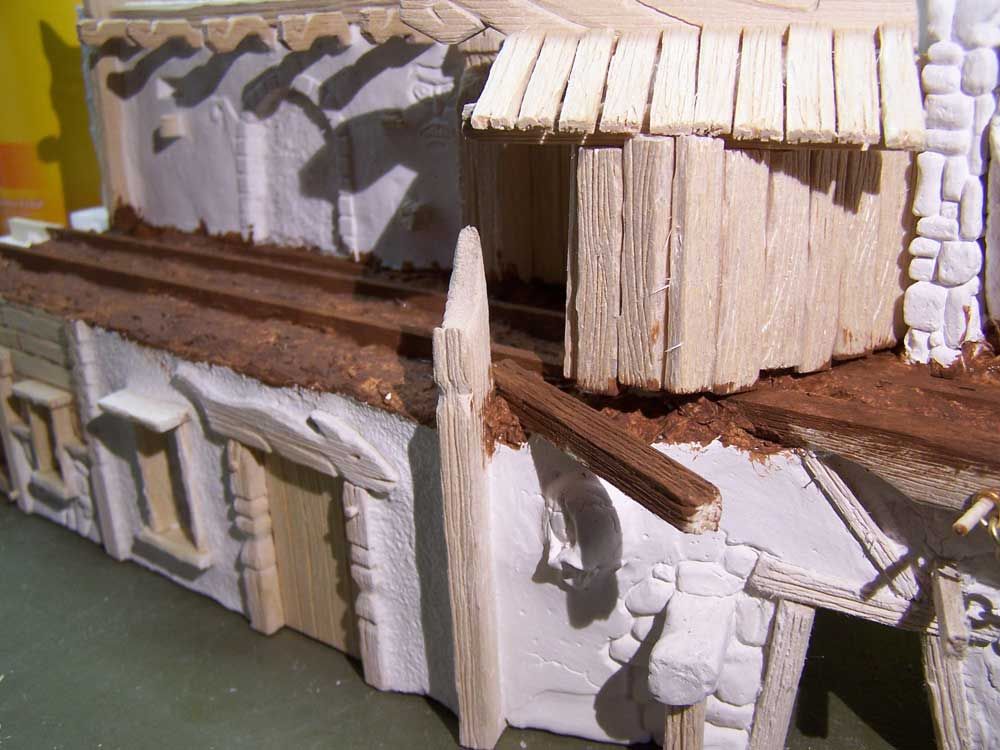
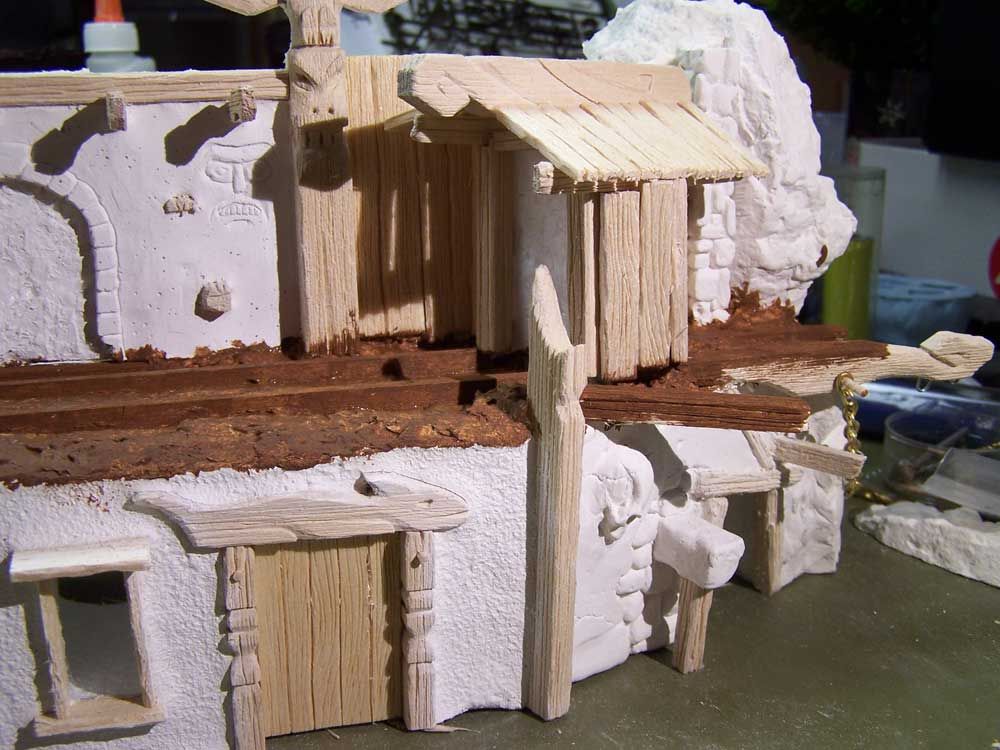
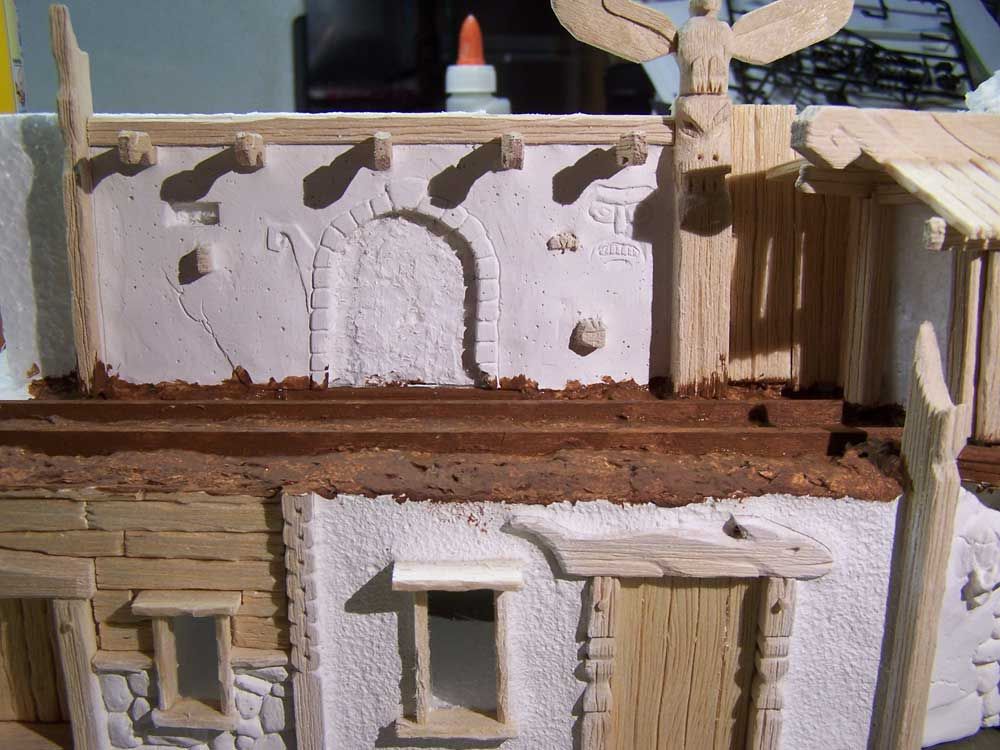
Here is an update on the Row Houses I am doing. I got to the stage where I needed to had the upper level. There are some pieces I want to start adding but need the two to be assembled. So here they are. Now I have begun working on the parts for the walkway. I painted the underside brown because I will be covering that portion with planking and don't want white showing between the seems. I also added a chain and some beams that will be sticking out. This has been a very fun project. If you have any questions let me know.

There are more pictures so click on the link.

Cheers,
John...


Tuesday, December 27, 2011

Port Tavern ready for paint.

Finally found some time to get a little more work done on this. It still needs a few tiny details like a door handle and maybe a pipe or two more, but for the most part it is ready for paint.
My automatic thinking is to paint the walls cream, and the roof blue, because of  all the old Warhammer cities I used to ogle in white dwarf magazine. I am going to have to try to break away from it though and make this unique looking.
I plan to get crackin on the next building(probably a tall Inn) pretty soon, so as to keep this project rolling.


Wednesday, November 23, 2011

WIP: Port Tavern

Well, I have great ambitions to make my own 6'x4' port table for all the various fantasy, Skirmish games I play. This little building is the beginning of that very long project. Hopefully I can power through and see this to completion, and not just have another half finished project sitting on my shelves.
Here's a few pics of the work done so far.


Thursday, February 3, 2011

Quick and easy razor wire.

I have been asked a few times about how I make my razor/barbed wire for my futuristic figure bases.
This is not the most realistic I have ever seen but it is certainly the easiest.

Floral wire is the only material you'll really need for this one.
For 28mm scale figs, I typically take 3 strands of the wire. 4 strands makes a pretty heavy duty cable look, and 2 strands could be used for Flames of war and similar scaled games. You'll want to put your strands together and bend one end of them together with some pliers, to give your drill chuck something substantial enough to hold on to.
Insert the bent ends into a power drill chuck and hold the other side with a pair of pliers and spin slowly until you get the desired braiding effect.     Bad pic but I hope you get the idea.
Once it is all twisted up remove from the drill and cut off the ends that did not get twisted with some wire cutters. I put a dab of superglue on each end of the strands at this point to prevent them from fraying back apart.
Once the glue is dry, wrap your wire braid around something that will give you the correct scale. I used a paintbrush handle. For smaller scales, wrapping around a toothpick might be a good option.
Now just pull off your coil, snip sections off and apply paint as you need them.
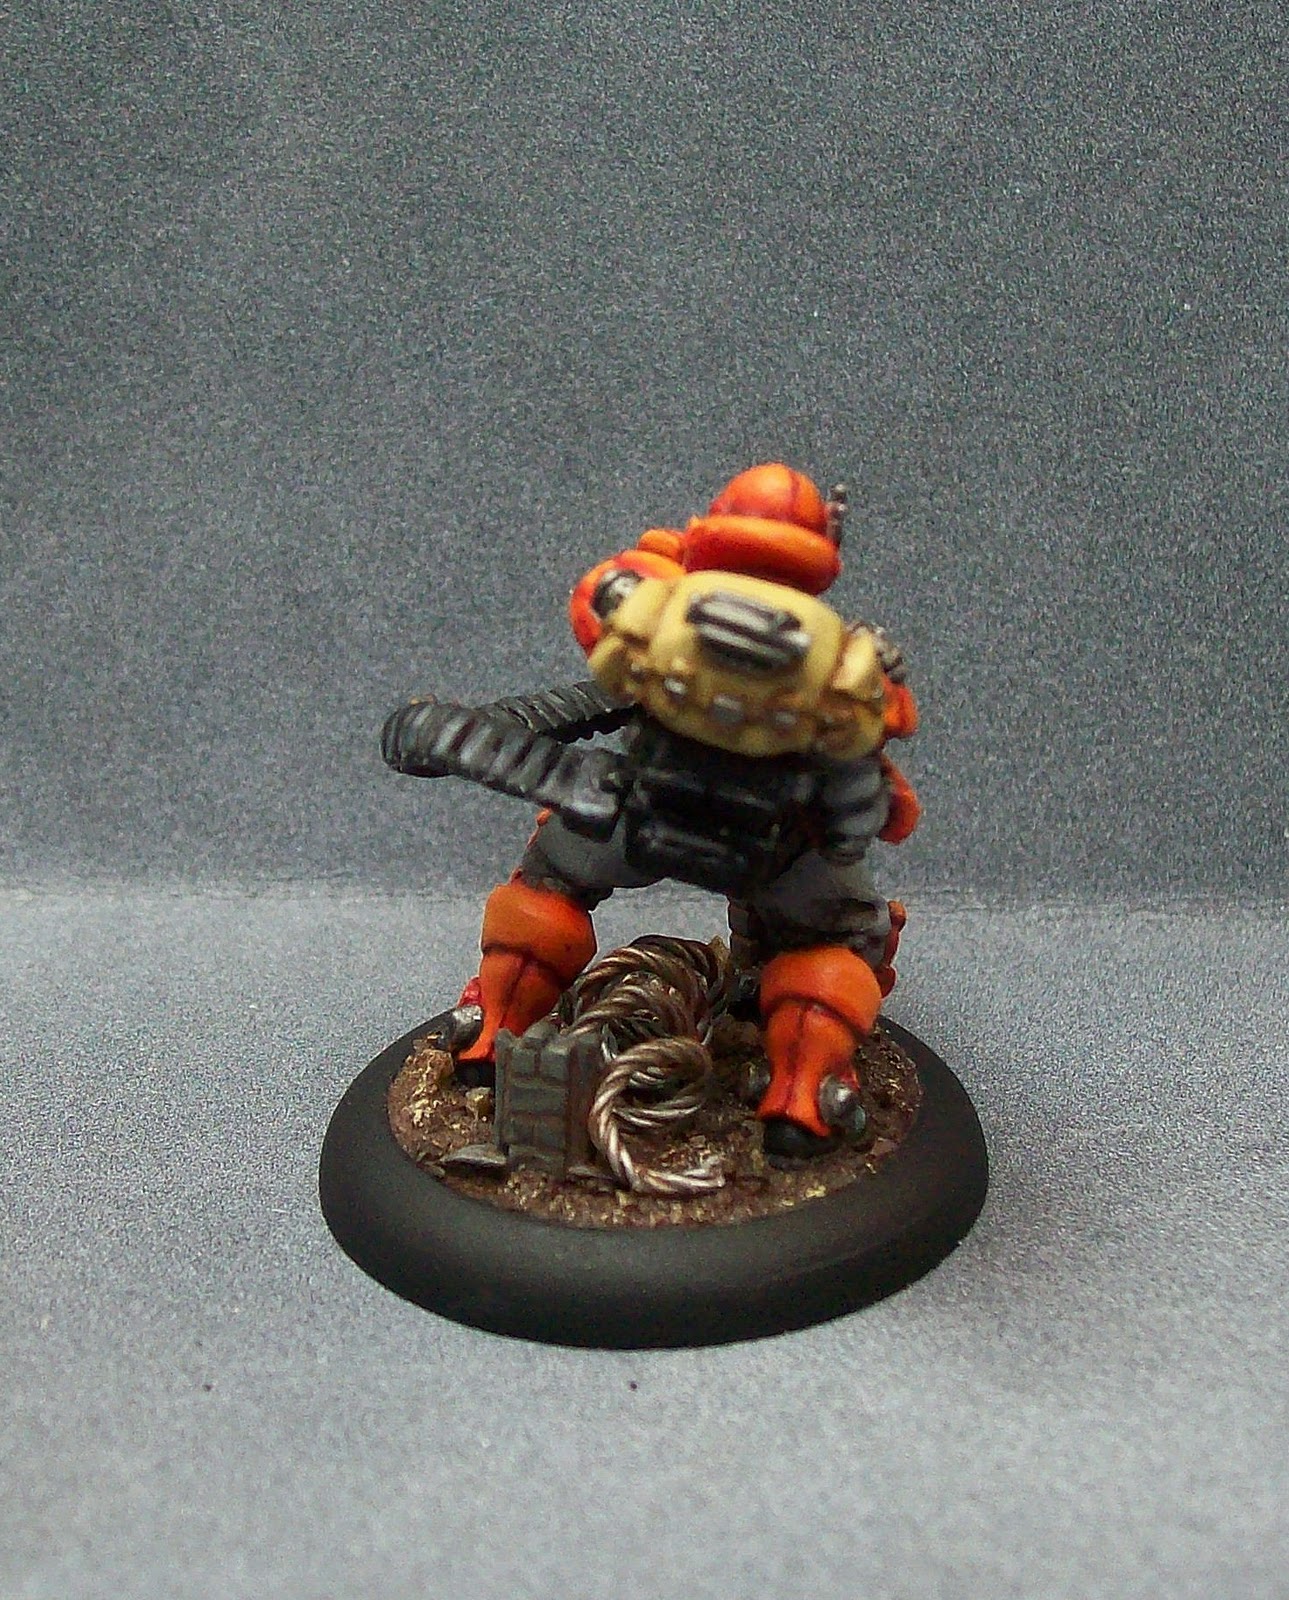
Here's a few recent examples of stuff I've used it on.

Wednesday, February 2, 2011

Quick and simple Trees

Just thought I'd do a little tutorial on how I make trees for my gaming boards. for the longest time I struggled to bulk out the foliage on my trees. I despise trying to glue Clump foliage to trees because it seems to never quite work out right, and I end up with a mess of hardened, throw away clumps. So here was my solution. This is really geared towards a casual terrain maker, not experts. ;)

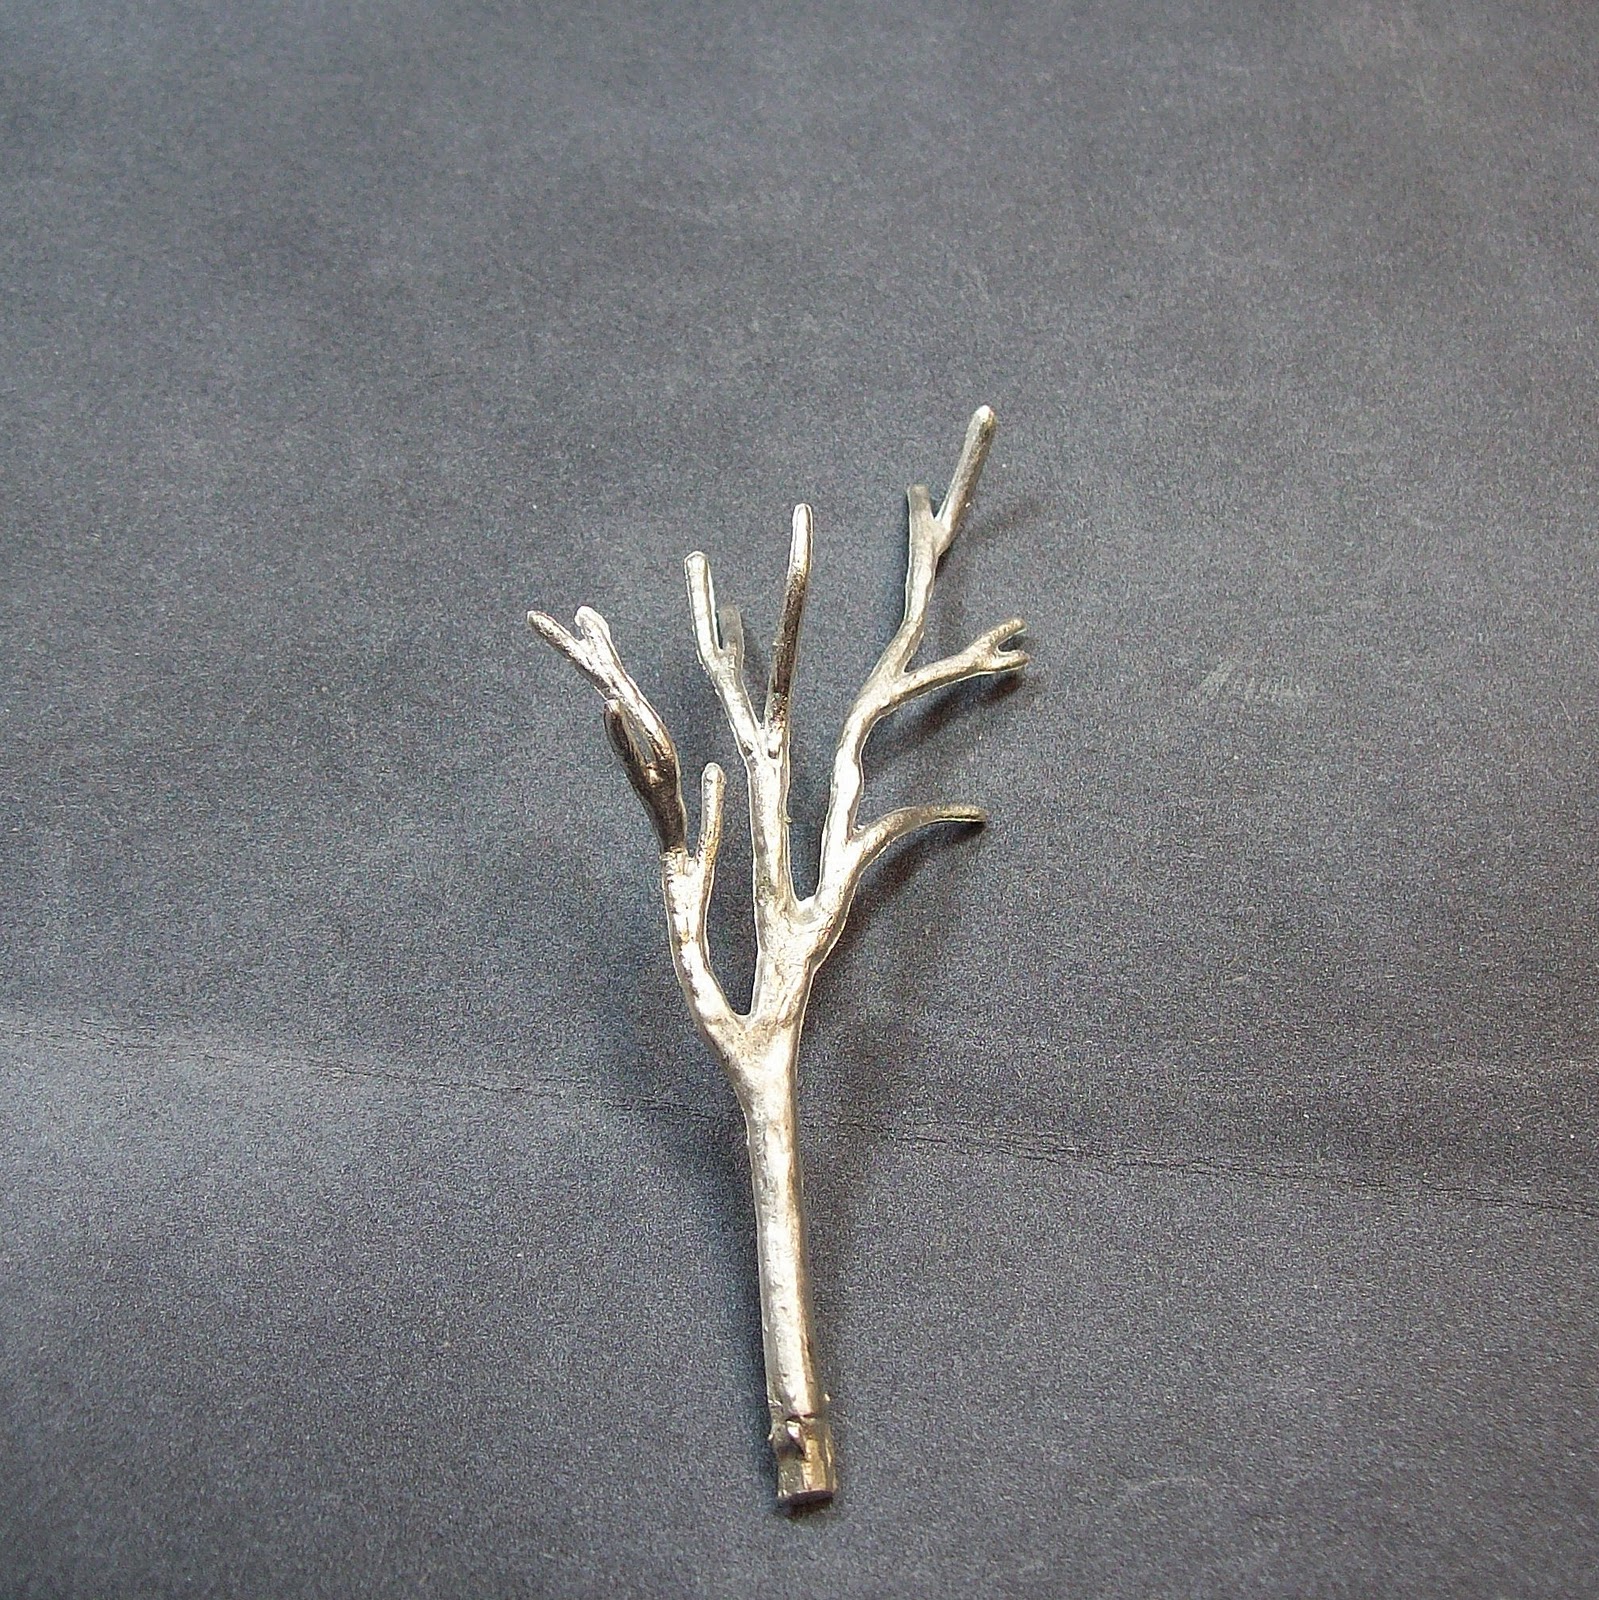
So first off I grab a Woodland Scenics tree armature. I use these because I have them. I actually think that a nice looking, gnarly old twig would yield better and more realistic looking results, and would be cheaper if you don't already have these on hand.
Next is the stuff I use to make the bulk of the foliage. It is easily accessible from just about any DIY stores.

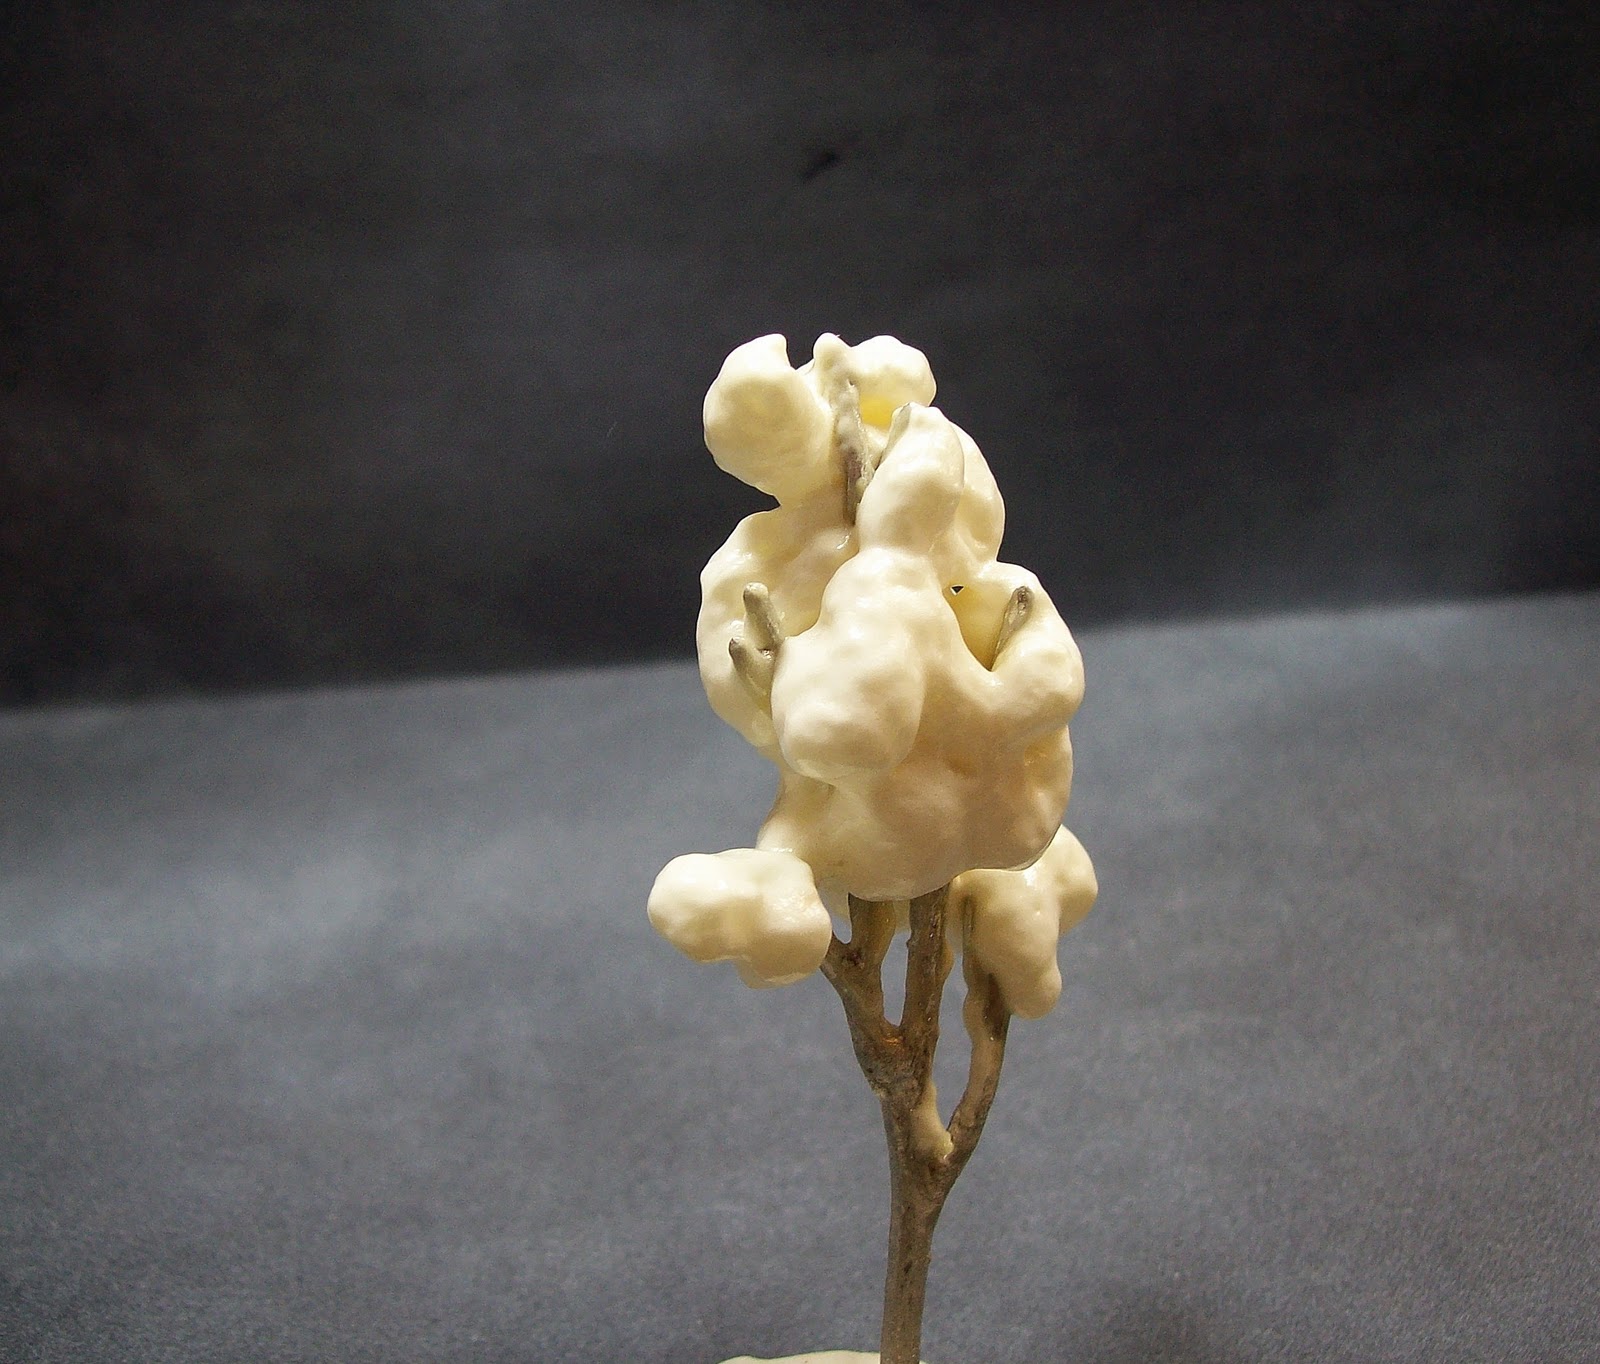
Now use the gap foam and spray it randomly on the tree armature. Don't go too crazy and put a bunch on as this stuff will get pretty heavy and fall off. Also, remember that it does expand pretty good as it dries. SO, put on less than you would think is necessary. Leave for an hour or two to dry.
 Spray black or Dark green if you've got it. Just so any missed spots aren't glaring white underneath. Unlike other foams, this stuff will take spray paint just fine.
Cover liberally in white glue.
Now, you'll just want to dip it in a suitable mixture of flock. I use two different types of the fine flock from Woodland Scenics. A bag or two will be plenty enough to do dozens of trees.

At this point I realized my tree was a bit on the skimpy side, so I went ahead and added more foam to bulk it out more, and then just repeated all the previous steps.
At this point, you'll just need to base it to match your gaming tables. Spray with a varnish or hairspray and voila! You are done. With all of the drying time this tree took about 2.5 hrs. Next time I plan on assembly lining about a dozen to start making myself some decent sized forests.